Home made picture frames
Submitted by: Kimmie
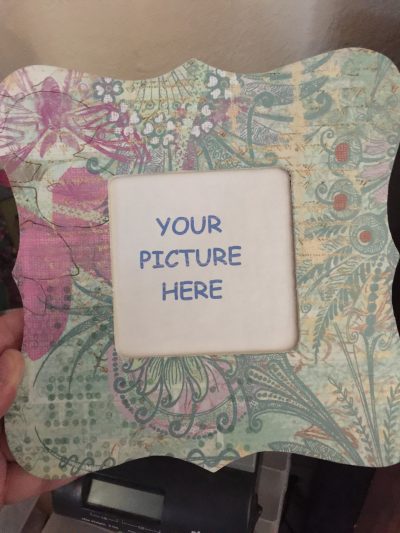
I made some home made picture frames and they actually turned out pretty good. You can personalize them with your own pictures! Great gift ideas!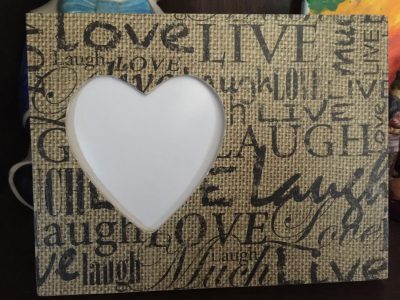
What you’ll need:
A wooden picture frame (I purchase mine at Michaels or Hobby Lobby). They’re priced from $1 – $3
Modge Podge
A brush with a spongy end
A sheet of paper with a design of your choice
Exacto knife
Sand paper
How to make it:
I start by sanding my frame all around. Don’t forget the inside where the picture shows through.
Once sanded, I brush off the excess sanding. At this point some people choose to stain the frame. I didn’t do that with mine. It’s a preference.
Next, I put a good layer of Modge Podge on the front of the frame.
I then carefully lay the paper on top of the frame and gently push out any air pockets. If your design paper is very thin, you may want to run a ruler or something with a flat end, across the frame to remove any bubbles. Do this very carefully so you don’t tear your paper.
Then turn the frame upside down and push down on it.
I let it sit for about 15 minutes or so (Modge Podge dries pretty quick). Then I turn it over and gently cut the excess paper off around the frame. Remove it carefully and as close the the edge as possible. Cut the inside space where the picture goes very carefully as well.
After I’ve removed the excess paper from the edges, I sand the edges of paper and frame to make it all smooth. This can take some time. You want to do it carefully and make sure to not have any pieces of wood frame that can cause a splinter.
Last, I Modge Podge the front and sides of the frame and let it dry.
At this point you can use the excess paper to decorate the cardboard piece that goes behind the picture you insert.
Easy peasy!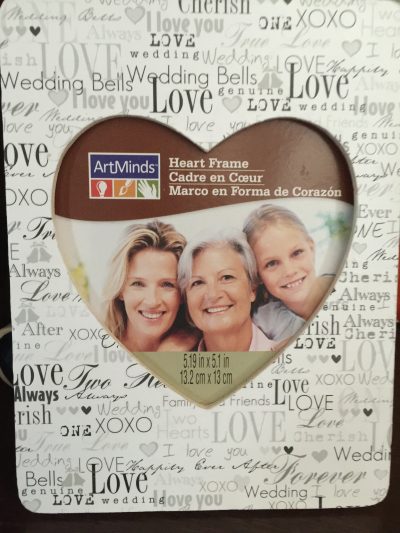
--